Tuesday, July 30, 2013

Chocolate Biscotti Made Easy...or Easily...or Whatever

A decade ago, I flew to Italy and hung out for a week.  By "hung out," I mean that I basically visited a few historic sites and ate Italian food...lots of Italian food.  It was on that trip that I discovered several delicious confections that I'll share with you in the upcoming months, including my favorite thing to dunk into coffee...biscotti.

Now, I'm sure you're thinking, "Haven't you ever been to a coffee shop?  They've sold biscotti for well over a decade...what's wrong with you?" 

Well, here's what's wrong with me - at that stage of my life, I didn't LIKE American coffee, so I never drank the stuff on this side of the pond.  I only drank coffee when I was traveling out of the country. So I'd never had any of the stuff that usually goes with coffee, either.

Anyway...I discovered biscotti in Rome one day, and it was divine.  Crusty, crumbly, chocolatey yumminess, which got even yummier when I put it into my coffee cup.  Yes, please!!  Then something sad happened.  I flew back home, and I bought some biscotti in an American coffee shop.  It wasn't very good, to say the least, so I felt irritated for a few months, and then I decided to figure out how to make it myself.  For a few years, I tried several recipes, and this one is the easiest.  I adapted it from a recipe in one of my favorite cookbooks, Chocolate from the Cake Mix Doctor.  It's the one that I make most often, because it's easy to throw together, and it's always a hit.  If you've never made biscotti before, but you like to have something extra with your coffee, try it and see what you think.  I promise you won't be disappointed!  

Bonus:  I have a 3 year-old daughter who loves to "help" me in the kitchen, and this recipe is perfect for kids who want to work alongside you.  

Okay, here's how it works.

Easy Chocolate Biscotti
1 package of devil's food cake mix
8 tbsp (1 stick) butter, melted
2 extra large eggs
1 cup all purpose flour
1/3 cup white chocolate chips
1/2 cup dried cranberries
1 tsp vanilla extract

Put a rack into the center of the oven and preheat it to 350 degrees.

Line your biggest baking sheet with parchment paper and set it aside.  Like this.


Dump these things into your mixing bowl...

Cake Mix 
(I like Pillsbury.  They didn't pay me to say that....in fact, they don't know I exist.  I just like their stuff.)


Butter


Eggs


Flour


Dried Cranberries 
(or whatever dried fruit you've got - if it's big, chop it up)


Vanilla


Okay, here's where I got excited and made a mistake, but I'll warn you so that you can do it correctly.  Don't put in the white chocolate yet, because it will disappear when you mix the batter.  Just wait until I tell you.


Now, mix everything (except the white chocolate) up for three minutes on low speed.


See how my chocolate chips disappeared?  Once you've mixed everything else, toss them in and mix for about fifteen seconds, or until they're just folded in.


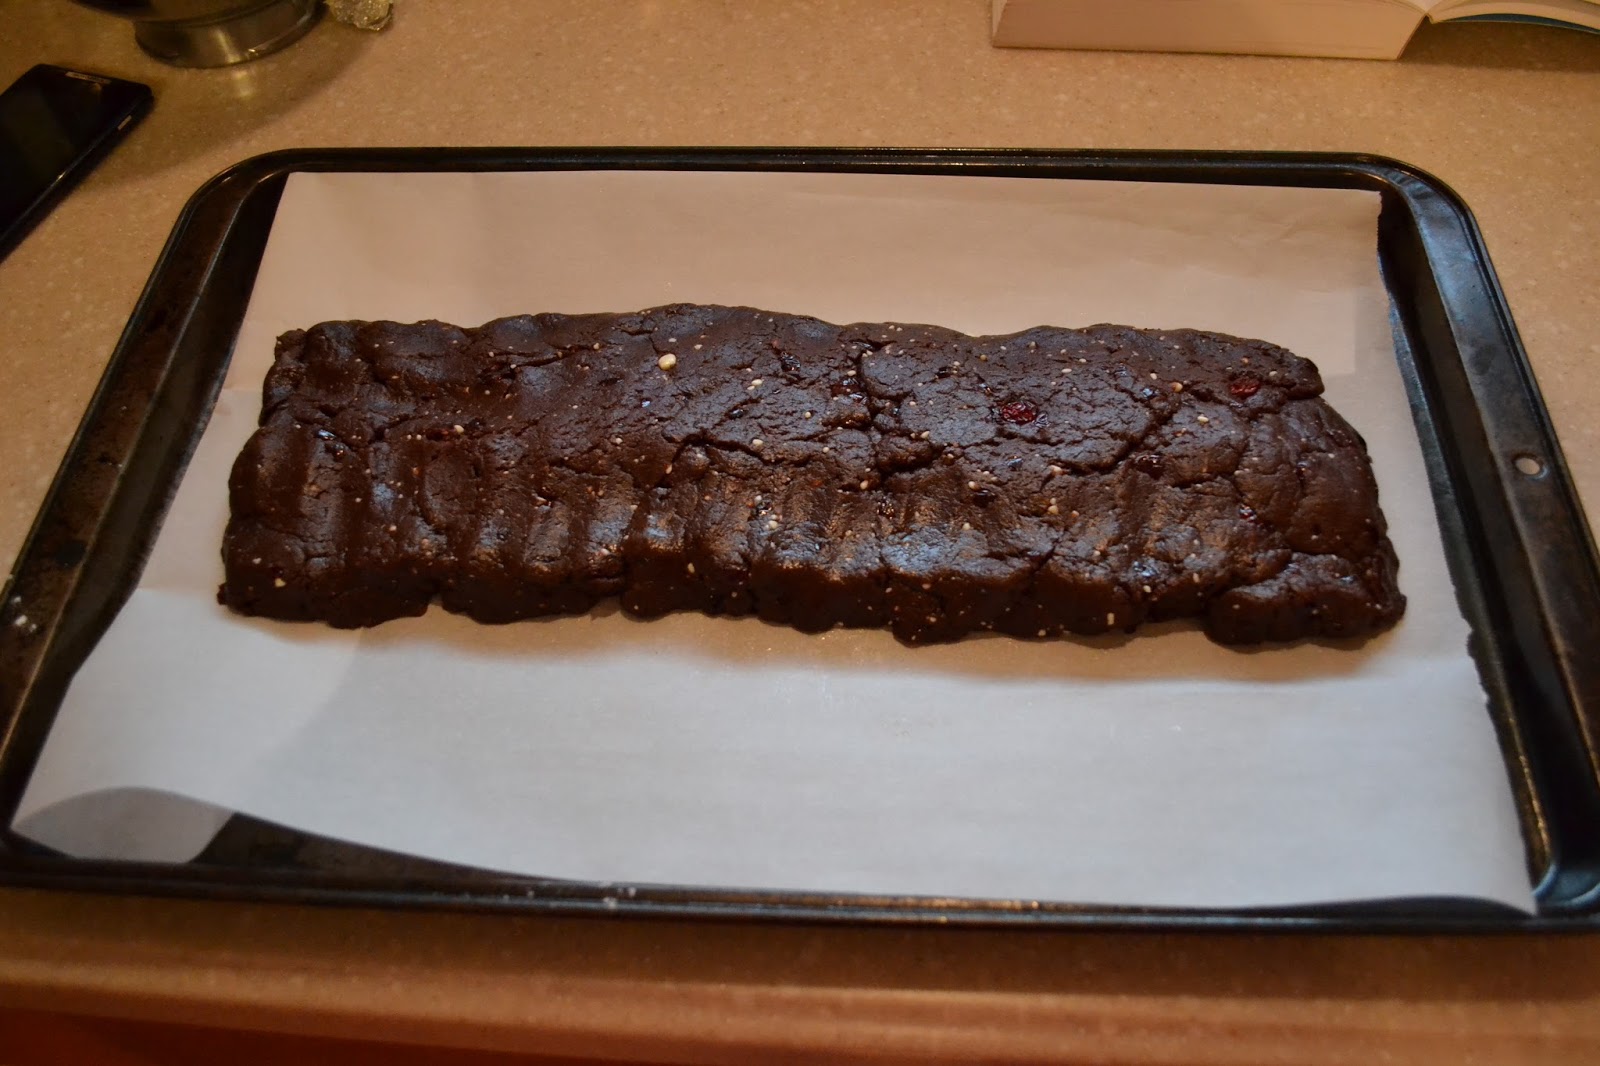
Okay, now you dump it all out onto your baking sheet.


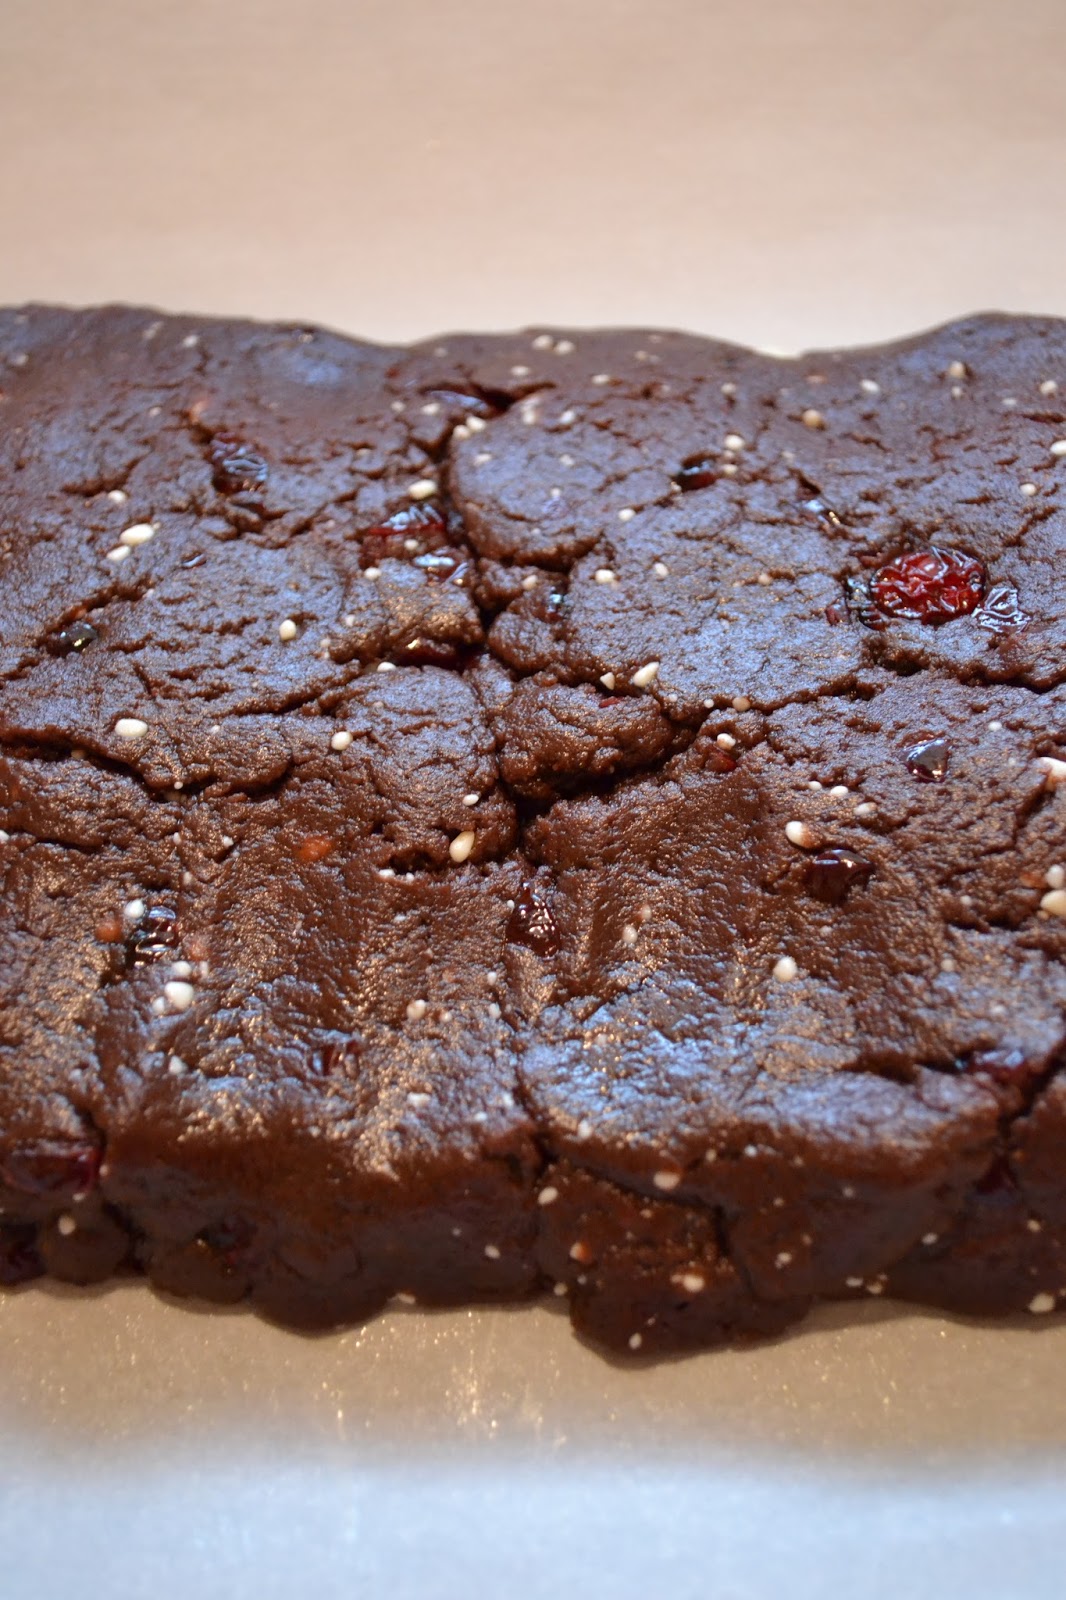
Then form it into a log that's about 4 inches tall and as wide as your pan will allow you to make it.  It'll be about 14 inches wide.  Mound up the middle a bit so that the middle is about two-thirds of an inch tall and the ends are about half an inch tall. 

It should look like this:


Put it into the oven and bake it for 30 minutes, or until a toothpick in the center comes out clean.  

Important Note:  DON'T TURN OFF THE OVEN.  You're not done with baking yet!

Set the whole pan onto a cooking rack to cool for ten minutes.  

At this point, it will look like this:


Now, get a big serrated knife and cut slices down the rectangle on the diagonal, about an inch thick.  Do this on the baking sheet.


As you cut the slices, turn them onto their side, so that one of the cut sides is down and the other one is up.  Like this:


Now put the whole thing BACK into the oven, with the pieces all lying on their sides.


Bake the biscotti again for 10 minutes, and then turn the oven off, leaving the baking sheet and biscotti to sit in the oven for another 30 minutes.  

Then take them all out and put the biscotti onto a cookie sheet to completely cool, which takes another hour or two.


When they're done, they look like this:


Now grab a cup of coffee and eat up!


Tuesday, July 23, 2013

My Favorite Banana Bread

Since my first recipe post shared my favorite decadent chocolate cake, today I'm going to tell you about something a little bit healthier, but still delicious...banana bread!  This one is easier to justify making on a regular basis.

About thirteen years ago when I was in college, trying to cook for myself on a tight budget without gaining the freshman fifteen (which is no joke, by the way), I started looking around for ways to use up leftover food.  I adore bananas, and I always had them in the kitchen.  However, since I was the only one eating them, I often had several left that would go bad in a day or two unless I did something with them immediately.

One of the first things I thought about was, of course, banana bread.  Yet, I knew that every banana bread recipe I'd ever used contained large quantities of butter and sugar....they tasted more like banana cake than banana bread.  So I did some searching, and ultimately I came up with my own recipe, based on the strengths of several different ones that I tried, and it has been a hit ever since. The bread comes out moist and delicious, with lots of banana flavor, but it uses about half the butter and sugar of other recipes I found.

Kristen's Banana Bread
2/3 cup white sugar
1/4 cup (half of a stick) unsalted butter, softened
2 extra large eggs
3-4 mashed bananas
1/4 cup water
1 2/3 cups all-purpose flour
1 tsp baking soda
1/2 tsp salt
1/4 tsp baking powder

In the pictures below, I was making a double batch, so that the ingredients would be easier to see.  It's easy to double the recipe, and this stuff never goes to waste!  Here's how you make it:

You start, of course, with the good stuff...

Preheat your oven to 350 degrees and position a rack right in the center.  Spray muffin tins or a loaf pan with baking spray, so that the banana bread won't stick when it bakes.

Put sugar and butter (it needs to be a little soft, but not melted) into the mixer and cream them for a couple of minutes.


...add the eggs and mix some more...


This is what really ripe, about-to-go-bad-but-still-good bananas look like...


Just smash them with your hands and drop them in.  Turn on the mixer to mash them a bit more (about a minute) before you move on.


Then turn the mixer off and drop in all the rest of the ingredients.


Turn the mixer back on low until the ingredients are just barely combined...


...like this.  You don't want to overmix.


Then scrape down the sides of the mixer and give it one final stir with a rubber spatula.

Scoop the mixture into the prepared muffin or loaf pans.  Again, I made a double recipe here, so I had four small loaves and six muffins.  The normal recipe will make one big loaf or about 24 muffins.


Bake muffins for 20-24 minutes and bake large loaves for about an hour, or until a toothpick comes out clean.  (For big loaves, I use wooden grill skewers to test for doneness because toothpicks aren't big enough.)  Turn the pans halfway through the baking process, so that they bake evenly.  

They're done when they look like this!


Come to Mama, gorgeous...


...Mmmm...


Let them sit in the pans on cooling racks for about 10 minutes, then gently turn them out onto the racks to finish cooling.  If I spray my bakeware before I put the batter in, my bread and/or muffins never stick, so you shouldn't need to use cupcake liners.


If you try these, let me know how they turn out for you!

What other recipes might you like to see me post?  How do you use leftover ingredients in your kitchen?

Sunday, July 21, 2013

The BEST Chocolate Cake Recipe

Several years ago, one of my lifetime best girlfriends drove out to the midwest (where I lived for 8 years) to visit me, along with her husband David and their tiny son Caleb.  By the time they finished their day-long ride in the car, Gracy was ready for something delicious to take the edge off all those fast-food and sandwich-type meals that they'd been eating.  Once Caleb was put to bed, and David was settled in with my husband James playing video games, Gracy and I headed to the kitchen, where she asked me, "Where do you keep your chocolate?"

Yeah, she's that kind of friend...one who knows a) that I've always got chocolate in the house, both for daily consumptions and for emergencies, and b) that I love her enough to share my best stuff with her!

So I answered, as all good chocoholics would, "Do you want solid, liquid, or powder?"
To which she answered, "Powder?  Seriously?"
To which I answered, "Yep.  It gets cold here, so I've got some Godiva Hot Chocolate Mix in the pantry!"

I share that story to explain that I take chocolate very seriously.  It's probably my all-time favorite food, and I've tried so many kinds that I could never count them.  I will spend a lot more time talking about chocolate on this blog, but for now, I'm going to share my favorite chocolate cake recipe.  I made one this past week for my husband to take to work, and that night while he was on call, he found a piece sitting in the call room at the hospital, where he works as a radiology resident physician.  The piece of cake had been sitting out for about 7 hours, and was stale, but he ate it anyway and said it was awesome.  It's THAT good.

Here it is, in a picture of four different cakes I made for a wedding shower.  Obviously, it's the first one on the left, and it's DARK chocolate.  I love pairing it with a white buttercream icing, but soon I'm going to try it with a chocolate icing, too, just to see how that goes.


Here's the recipe:

The BEST Chocolate Cake

Ingredients:
1 package of devil's food cake mix (I like Pillsbury, but others are probably fine)
2 tbsp unsweetened cocoa powder
1 cup whole milk
1/3 cup heavy cream
1/2 cup vegetable oil
3 eggs (I use extra large eggs, but large would probably be fine)
1 tsp pure vanilla extract

Place a rack in the center of the oven and preheat to 350 and spray two 9-inch round pans with baking spray.  Put all ingredients into a mixer fitted with the whisk attachment, and mix for 1 minute on low. Stop the mixer and scrape the bowl with a spatula, then mix again on medium for two minutes.  Divide the batter between the two prepared pans and bake side by side for about half an hour, until a toothpick comes out clean.  Rotate the pans halfway to ensure that they bake evenly.  (Yes, seriously.  Just trust me.)  Let the cakes cool in the pans on wire racks for ten minutes, and then turn them out of the pans, right side up, to cool completely on the wire racks.

Final Step:  Load on the frosting!!!  I use an awesome frosting recipe that I borrowed another blogger, and I will share that very soon in another post.  Meanwhile, just use whatever type you like, and enjoy!

Tuesday, July 9, 2013

Sweet Cuisine

About a million years ago (okay, maybe ten), I requested and received a Wilton cake-decorating kit for Christmas.  My sister-in-law makes amazing, delicious, beautiful cakes, and I wanted to learn how to do it, too.  After I received the decorating set, I had a reality check...I was working a more-than-full-time job while applying to law school, preparing to move across the country, and planning my wedding to an overworked medical student who was studying for his first medical licensing exam.  It just wasn't gonna happen.

Fast-forward a decade, and now I've moved once more across the country, back to Savannah, Georgia where I was born.  I'm a work-at-home mommy of two little girls and wife to a medical resident (yes, he's still in residency...long story...I'll tell you about it sometime), as well as the cleaning crew, cook, chauffeur, party-planner, accountant, gardener, counselor, and all those other things that go along with homemaking.  Even when it is busy and stressful, I love my life.  I enjoy taking care of my family and helping to make life beautiful each day.

A very important part of that life necessarily involves food.  Lots of food.  Delicious food...often involving a lot of sugar, because that's how we do it in the Deep South.  Life is very sweet here...and so is our cuisine.  I hope you enjoy walking this road with me.

Getting Started

For many years, I have been a devoted sugar-lover.

This blog is my tribute to that lifelong passion.

Welcome.