Birthdays are a big deal in the Sagar household.
A very big deal.
So when baby Charlotte turned one year old a couple of weeks ago, we celebrated....for eleven days. Yes, you read that correctly...eleven. Why, you might ask, must a birthday be celebrated for so long? Well, it's like this. When my husband started his first year of residency, six years ago, he just about disappeared from our lives. He missed birthdays, anniversarys, dental appointments, Christmas...pretty much everything...because he lived at the hospital. He was even scheduled to be in surgery the day that our first child was born (on that occasion, he told them to find a sub and walked out of the OR...so he made it.)
Anyway, we began to realize that we needed to celebrate important events when we were together, even if it wasn't on the "right" day of the year. Thus began the tradition of the "birthday festival," which lasts about a week. What this means is that for one week, you get to have special privileges...choosing what we have for dinner, control of the tv remote and the movies that we watch (that's why I've watched Predator and all the Alien movies...didn't see that one coming), a few presents scattered throughout the week rather than getting them all on one day, and a general exemption from whatever chores you usually do around the house. Unless you're me, in which case you still have to cook, clean, change diapers, etc. because there's no other adult around all day.
Charlotte's birthday is mid-July, but we had almost our entire family in town for the Fourth of July week, so we decided to have her big birthday party on July 5th. (More on that later...it was a big birthday bash.) When her actual birthday rolled around a week and a half later, I made a simple one-layer cake in a special shape, and I used a
great frosting recipe, which I'm going to share here!
Here's what I did.
I didn't have a lot of time to make a tailor-made cake, so I just used a boxed strawberry cake mix and added some fresh strawberries to it...and maybe a dash of cream.
I poured about 80% of the batter into a 10-inch cake pan, which I had sprayed with baking spray, and baked it in the oven.
I love my 10-inch cake pan. We are old pals.
Then I accidentally dropped my spatula on the floor and had to get a new one.
Try not to do that.
I turned the cake onto a cooling rack to completely cool.
...but I was in a hurry, so I didn't actually wait for it to cool like I should have. As a result, it didn't cut as well as I wanted. Next time, I'll let it cool and then pop it into the freezer for half an hour or so. Or I'll use my favorite strawberry cake recipe, which I'll tell you about soon, because that cake is a bit stronger.
Anyway, I cut two long lines from the outside to the center of the cake...
...and then scooped out a circle in the center to create a "C" shape.
It's a bit messy, but that's okay...the frosting will cover it.
Okay, and now for the not-so-secret weapon - ICING. This is my icing of choice right now, because it has yet to meet the cake it doesn't love. I do have some other delicious ones, but this one is the simplest, and it always gets rave reviews. I shamelessly borrowed it from
iambaker's website, and I use half butter and half Crisco for the shortening. Just put one stick of softened (but not melted) butter into the mixer, along with half a cup of Crisco and cream them together. (Use the
plain Crisco, not the
butter-flavored stuff, which makes the icing taste bad. Just trust me.)
Then add 2 teaspoons of pure vanilla extract. I use the clear stuff so that the icing stays pretty white.
Then slowly add one 2-lb bag of powdered sugar, beating on low, along with about a half cup of cold whole milk. You can add more or less milk, depending on how firm you want your frosting. Once the sugar is incorporated, turn the mixer up to medium/high and beat for about three minutes. It should look like this:
Dollop some icing onto the top of the cake and smooth it down, so that you've got a base layer of icing to hold the crumbs in.
The inside of my cake was too soft to hold icing from a spatula, so I left that part to be piped.
If you want to pipe the icing onto the cake, then spoon it into a pastry bag. I hold mine up with a tall cup because I'm usually working by myself.
I started piping in a zig-zag pattern to cover the inside of the "C."
Then I worked my way to the outside.
It looks a little crazy, but bear with me.
The icing can be a little wild on this cake because its purpose is to hold the sprinkles! Charlotte's big sister Ella helped me to put pink sprinkles all over the cake, so it was a team effort.
What birthday girl doesn't like sprinkles?
Ella proudly helped me to bring the cake to the table (notice the tiny little pink candle!) to show to her sister.
She was pretty excited.
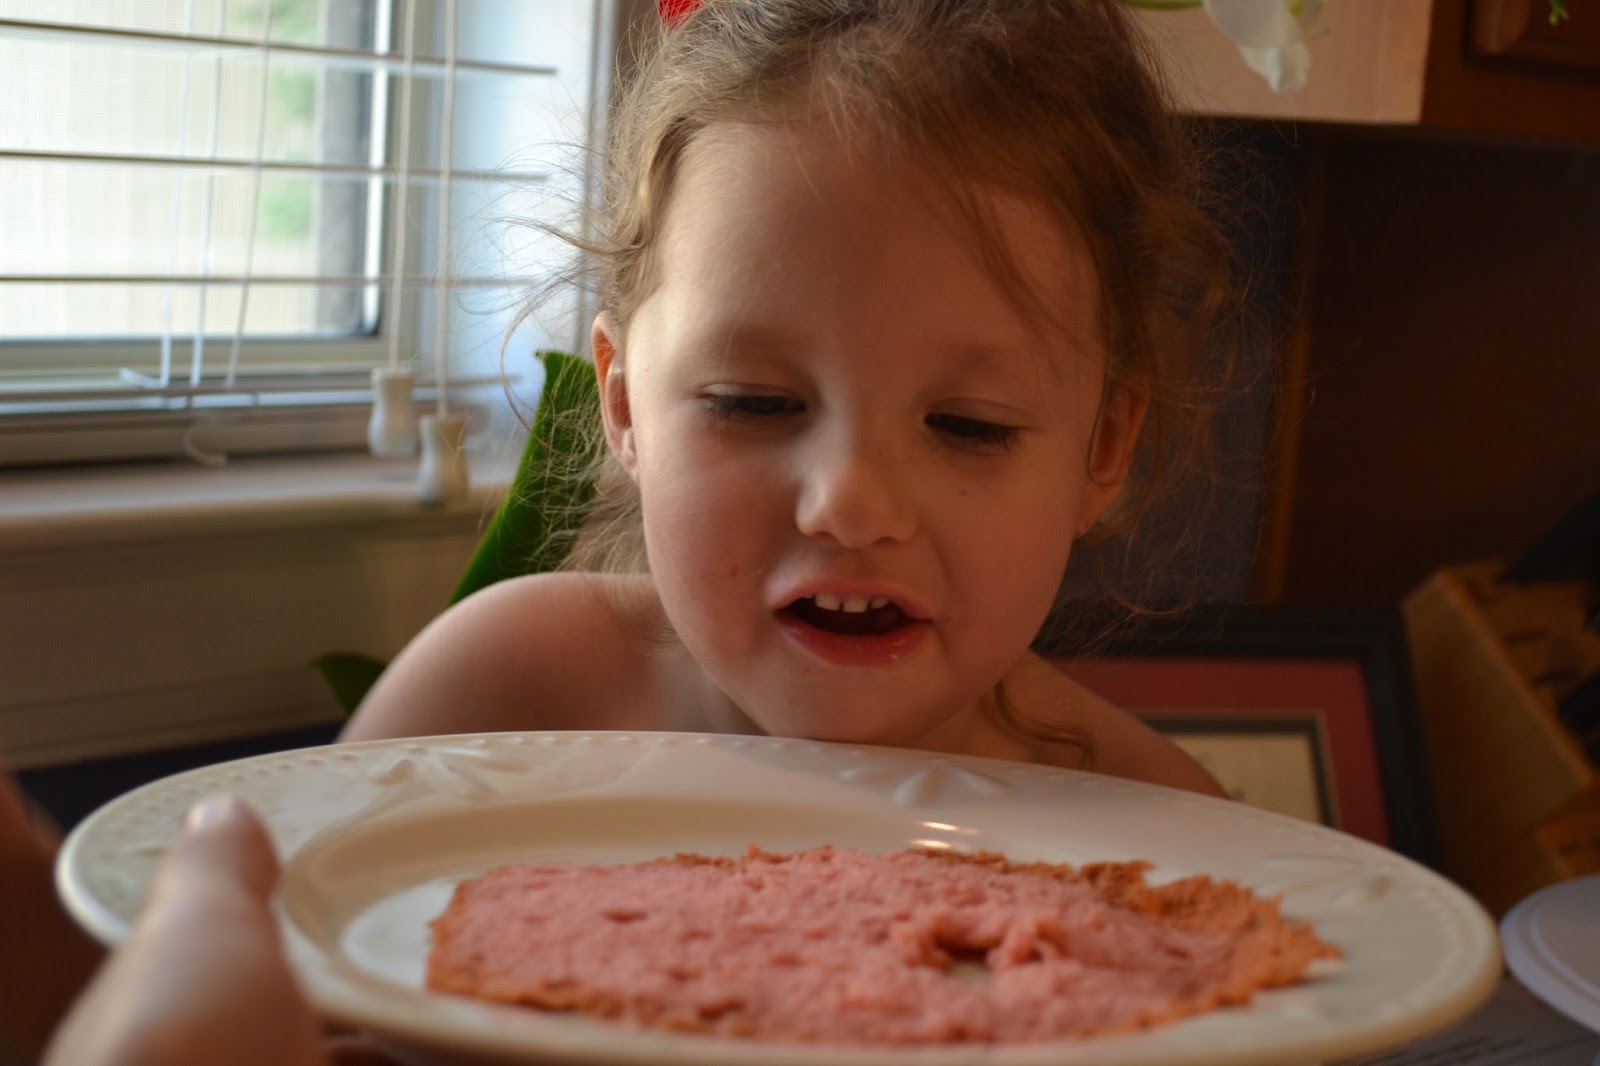
Charlotte was in awe of all the pink sprinkles, I think.
But she had no trouble digging into it!

,
Success!
Happy Birthday, baby girl. We love you!